
Exposed beams and structural features: what nobody tells you before you fall in love with them
That moment when you walk into a room and the ceiling does all the talking. Exposed beams, a ridge beam running the length of the space, rafters showing their grain — it photographs beautifully. It also hides decisions that cost money, require permits, and occasionally fail inspection. I have lived through both sides of that.
What follows is the practical side of exposed beams and structural features at home: how to tell a real beam from a decorative one, what each actually costs, and where the pretty pictures on Pinterest quietly lie to you.
Key Takeaways
- A beam is structural if it carries load; it is decorative if it only carries atmosphere. They look identical and behave nothing alike.
- Fake beams install in a weekend for a few hundred dollars. Real ones involve an engineer, a permit, and a five-figure invoice.
- You cannot widen a doorway or move a wall until you know which beams are load-bearing — guessing here is how people crack ceilings.
- Exposing existing structure is usually cheaper than adding new beams, but only if the timber is sound and the fire code allows it.
- Sanding and finishing old timber costs roughly 2-4 times what most homeowners budget, because of labor, not materials.
- Resale value rises when the work is documented. Buyers pay for proof, not for vibes.
Real beam or decorative beam? Here is how you actually tell
A friend bought a 1920s cottage two years ago, thrilled about the "original oak beams" in the living room. Six months later she wanted to remove one to open the space. The contractor put a hand on it and laughed. It was hollow. Plastic. Installed in the nineties to fake a Tudor look.
This happens constantly. So before you build any plan around your beams, you need to classify them.
Visual clues that separate the two
Walk up close and look at how the beam meets the wall or a post. A structural beam transfers weight, so it must be embedded, bolted to a plate, or seated in a pocket. If it just butts against drywall with a decorative bracket, treat it as cosmetic until proven otherwise.
- Wood grain continuity: real timber shows grain running the full length and continuing into the end cut. Fake beams usually have a seam, a wrapped veneer, or a suspiciously uniform color.
- Joist pockets: in older houses, joists notch into the beam with visible joinery. That is a strong sign of original structural work.
- Size relative to span: a beam stretching 6 meters across an open room with nothing supporting it in the middle is almost certainly carrying something. Thin profiles across a short gap usually are not.
- Knock on it. Hollow sound, plastic feel, or a metal stud behind the surface all point to decorative.
None of this replaces an inspection. If you plan to cut, drill, or remove anything, pay a structural engineer for a site visit. Mine cost me $450 and saved me from a decision that would have run into five figures to fix.
Why the distinction matters more than the aesthetic
Structural beams appear in your building record, affect your insurance, and constrain every future renovation. Decorative ones are removable furniture. Mixing the two up is the single most expensive mistake I have watched homeowners make.
What exposed beams and structural features actually cost
Prices vary wildly by region, species, and whether you are revealing something already there or building it from scratch. Here are the ranges I have seen on real invoices over the past few years, in a mid-cost market.

| Option | Typical cost | Timeline | Permit needed |
|---|---|---|---|
| Decorative faux beam (per linear meter) | $40-$120 | 1 weekend DIY | No |
| Reclaimed solid wood beam, installed | $200-$450 | 2-4 weeks | Usually no |
| New structural beam, engineered | $2,000-$8,000+ | 4-10 weeks | Yes |
| Exposing existing hidden structure | $1,500-$6,000 | 3-8 weeks | Often yes |
| Sanding and finishing old timber | $80-$200 per meter | 1-2 weeks | No |
Notice the spread. That gap exists because structural work drags in engineers, permits, and inspections that decorative beams simply do not.
The costs nobody quotes you upfront
Finishing timber is where budgets die. I sanded and sealed roughly 14 linear meters of reclaimed oak in a barn conversion and budgeted two weekends. It took eleven days of work, three coats of hardwax oil, and about $1,900 in labor once I gave up doing it myself. The wood was cheap. The hours were not.
Then there is fire treatment. In many jurisdictions, exposed structural timber in certain occupancy types must meet a fire-resistance rating, which means intumescent coatings or encapsulation. That can add thousands and, ironically, hide the wood you paid to expose.
Exposed beam ceiling ideas for a living room that actually work
The most common mistake: treating the beams as decoration to be filled around. Good rooms work with the structure. The direction of the beams dictates where furniture goes and where light hangs.
Layout rules that save you from a clumsy room
- Run seating parallel to the beam direction, not across it. It stops the ceiling from feeling like a grid pressing down.
- If beams run toward a window, use them to draw the eye outside — great in a cathedral ceiling living room.
- Paint beams the same color as the ceiling when the room is low or dark. Contrast adds drama; it also eats headroom visually.
- Hang lighting between beams, not on them, unless you want to drill into structural timber you may regret touching.
For rafters, the same logic applies but more so. Exposed rafters read as a rhythm, and any interruption — a badly placed vent, a badly placed pendant — breaks it.
The photos lie about light and scale
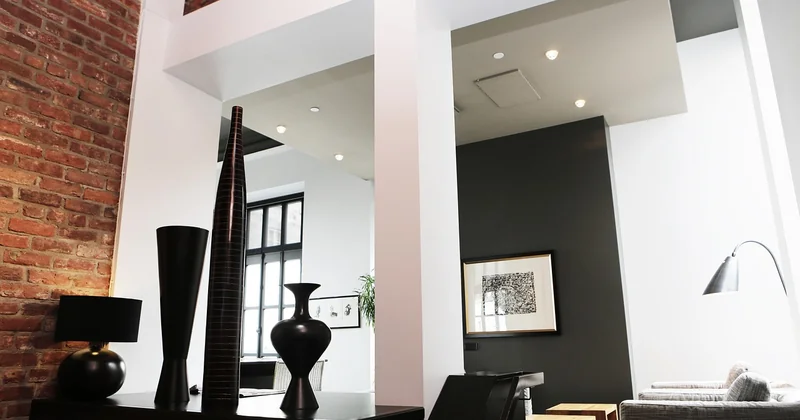
Every image you have saved shows a bright, airy space. Real rooms with exposed structure are often darker than the picture suggests, because beams cast shadows and block the pale ceiling that would otherwise bounce light back. If you are working from reference photos, ask what time of day they were taken.
Permits, insurance, and the paperwork you cannot skip
Adding or modifying a structural beam almost always requires a building permit. Removing one that turns out to be load-bearing without one is the fastest route to a failed inspection and an insurance dispute.
Here is the part people underestimate: your insurer cares. If a claim ever involves a ceiling collapse or a wall movement, the first question is whether the structure was altered and whether it was signed off. A decorative beam installed by you raises no eyebrows. A structural beam replaced on a Saturday by a friend raises all of them.
Keep every document. Engineer's report, permit, inspection sign-off, product certifications for fire treatments. When you sell, or when something goes wrong, that folder is worth real money.
A quick diagnostic you can run this weekend
Before any renovation, spend an hour gathering facts.
- Photograph every beam, joint, and support point from several angles.
- Check your building record for original drawings — many are available from the local authority.
- Compare beam depth and span against the loads above them.
- Note anything hollow, cracked, sagging, or recently patched.
- Hand your notes and photos to an engineer before you decide anything.
That hour has saved me from at least two bad decisions. It costs nothing.
The bottom line on exposed beams and structural features
Exposed beams are one of the few features that genuinely change how a home feels. They also sit right at the intersection of beauty and liability. The homeowners who get this right are not the ones with the best photos saved — they are the ones who paid an engineer before they paid a contractor, and who understood that a beam is a load path first and a design element second.
So the next time you fall for a room with a gorgeous ridge beam, ask one question before you fall any further: what is that beam holding up? The answer tells you whether you are looking at a feature or a foundation for a very expensive mistake.


